Installing WordPress locally


If you are interested in WordPress development, there are a couple of advantages to developing on your local computer before uploading to a paid hosting service. I would also argue that you should keep a local version of your website as well as the public version on a web host. This will allow you to perform updates on your local install to make sure all goes well and there are no conflicts with themes or plugins before updating your live site.
Reason 1 – It can save you money. There is no need to pay for a hosting service before your site is designed, working properly, and ready for prime time.
Reason 2 – Developing your WordPress site locally allows you to test and select the plugins you may want to use. There are thousands of plugins out there and a lot of them are similar. You may need to install and test a lot of them before you find the right one.
Reason 3 – If you are developing themes or plugins, you can set WordPress to debug mode. Enabling debug mode in WordPress will display all PHP errors, notices, and warnings. This is definitely not what you want on a publicly accessible site.
Before you can install WordPress locally you will need to set up a web development environment like WAMP server or Zend server on your local computer. You can set that up by following the instructions on the post “Set up a local development environment on windows.”
If you have installed WordPress on a hosted site you will find this process very similar.
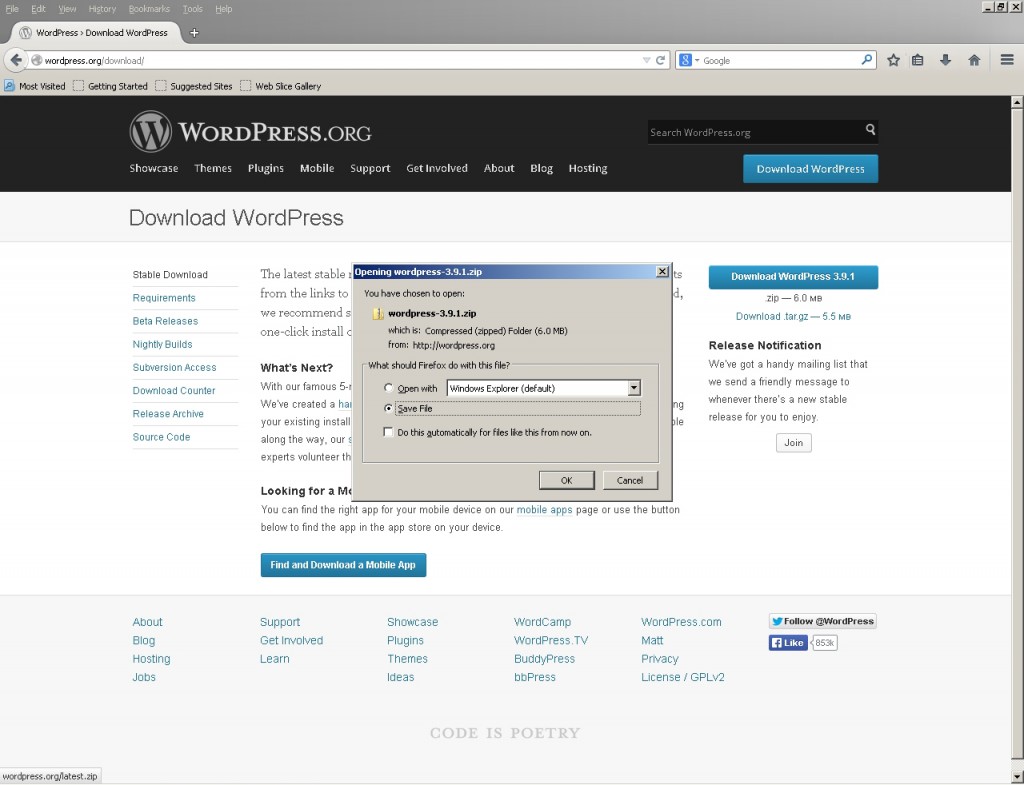
First, visit the WordPress Web site and download the latest version.
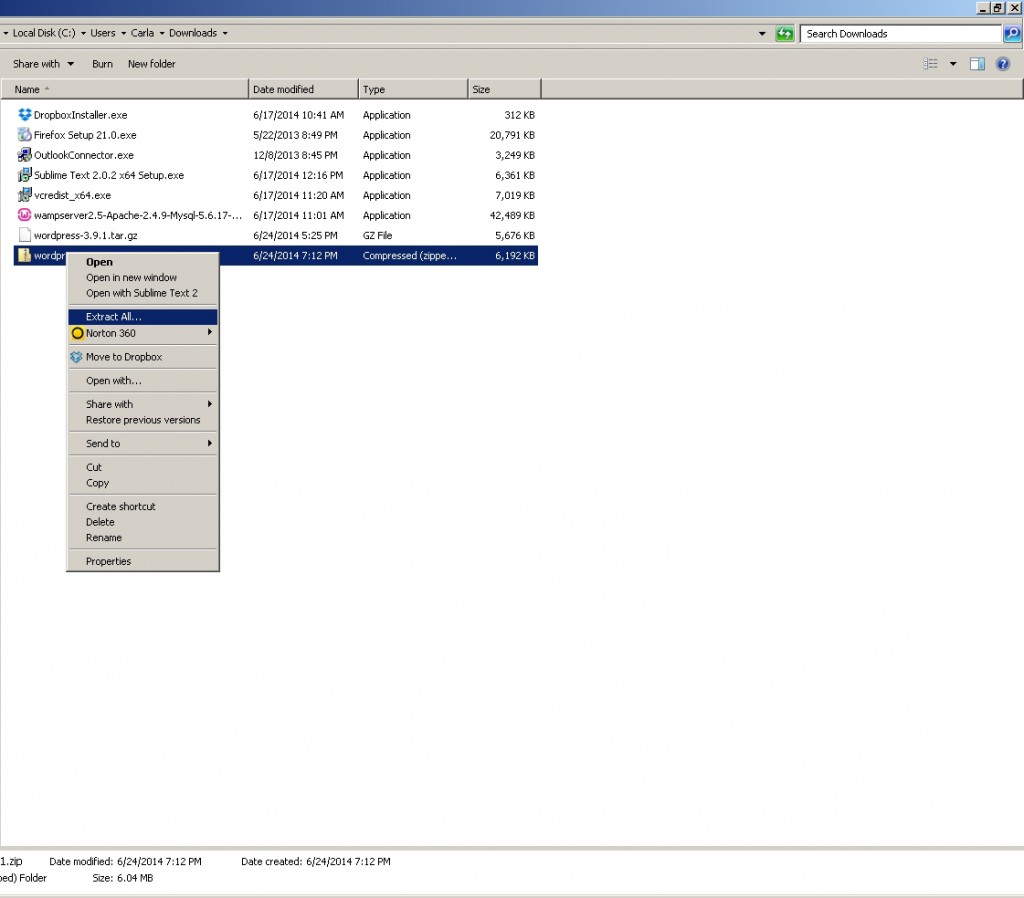
Once downloaded, browse to the folder you downloaded the files to. Right click the file and select extract.
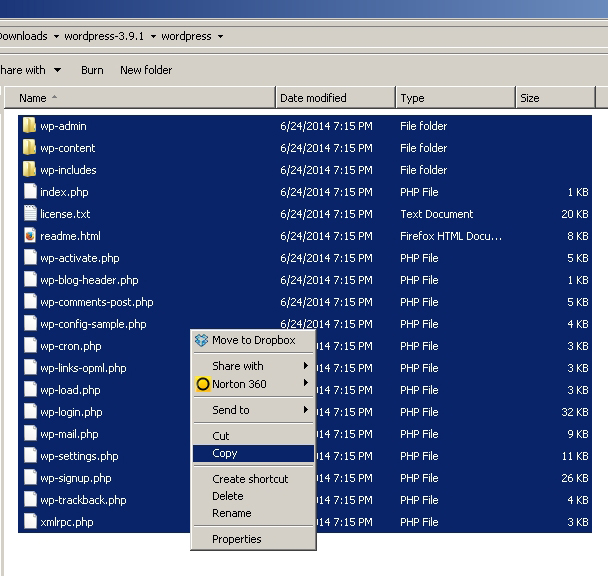
Once the files have finished extracting, open the extracted file called wordpress-x.x.x where x is the version number. Inside this folder is a folder called WordPress. The files inside this folder are the ones we want to copy over. Either press ctrl+a then press ctrl+c to copy the files or select all of the files and right click and select copy.
If you followed the last tutorial you will have a folder called local.mytestsite.dev inside wamp->www.
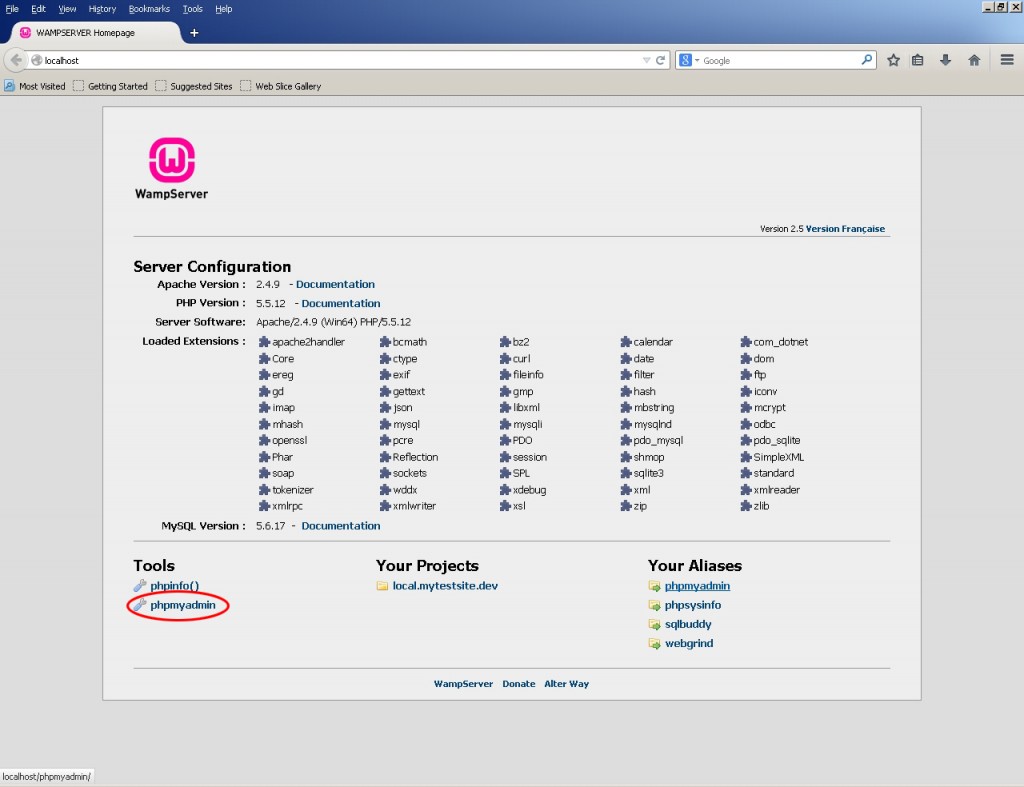
Paste the entire contents of the folder into the local.mytestsite.dev folder. While those files are copying over, open your web browser and type localhost. This will open the Wamp server main screen. Select phpmyadmin from the bottom left corner.
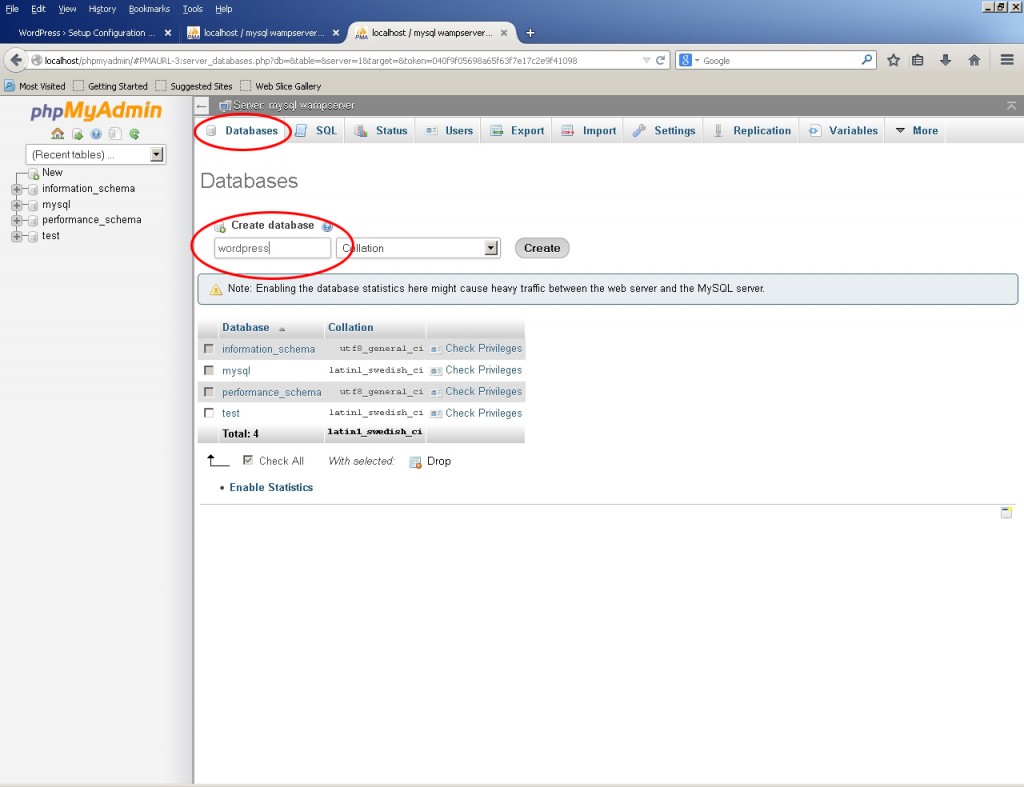
Once phpmyadmin opens select Databases from the tabs at the top. Then type the name of your new database. I have simply entered wordpress. You may want to name your database something more meaningful.
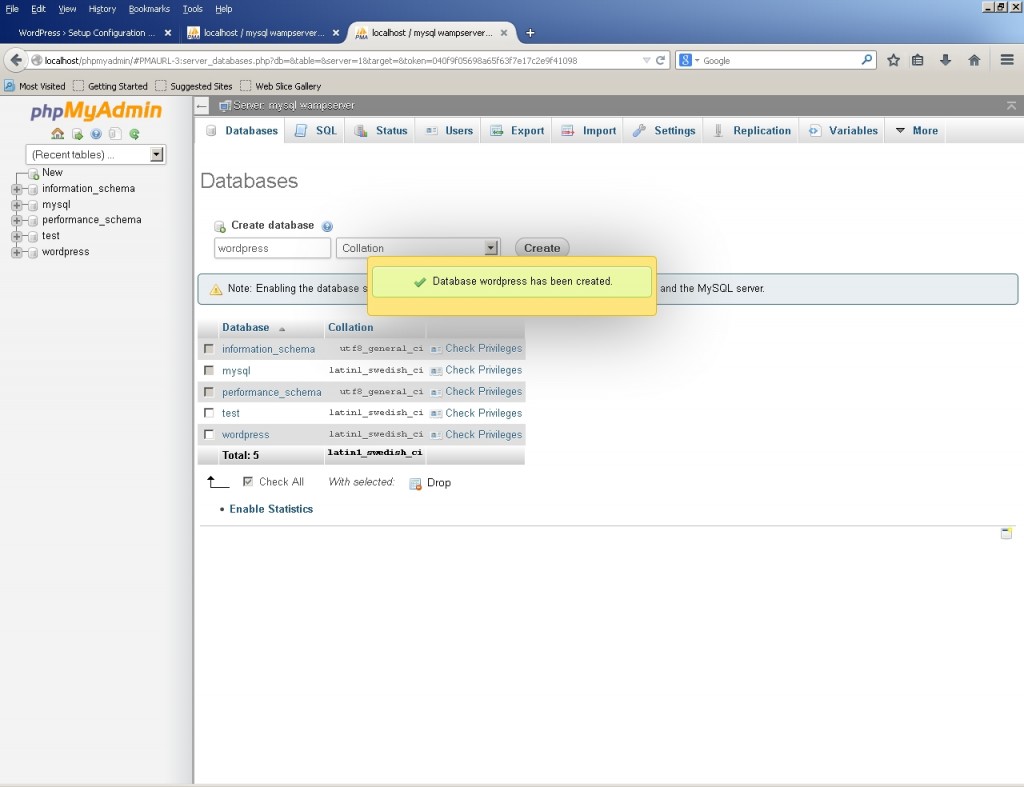
Click “Create” and your new database will be created. That is all there is to creating the database. You should get a notification your database has been created.
If the files have finished copying over, type in the browser local.mytestsite.dev. This will begin the famous WordPress five minute install.
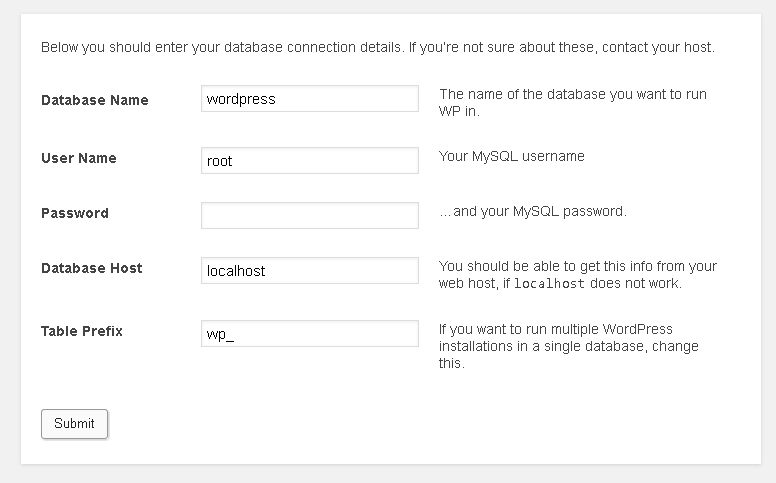
Enter your database credentials in the fields shown. The name of the database we created was wordpress. Username will be root and there is no password.
*For security purposes you should create a root password.
The rest of the fields should already be filled in for you. Click “Submit.”
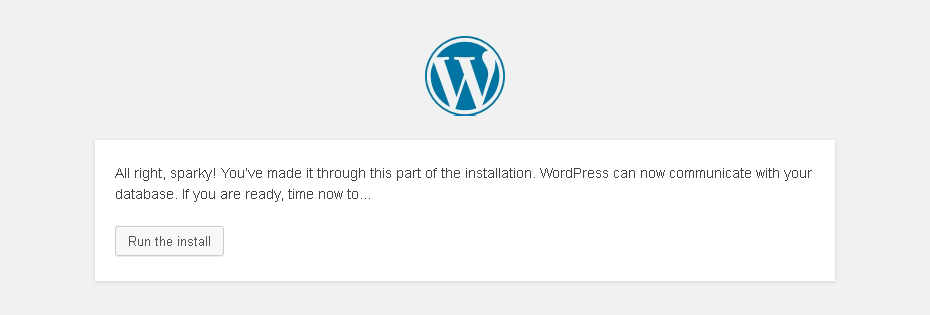
On the next screen click “Run the install.”
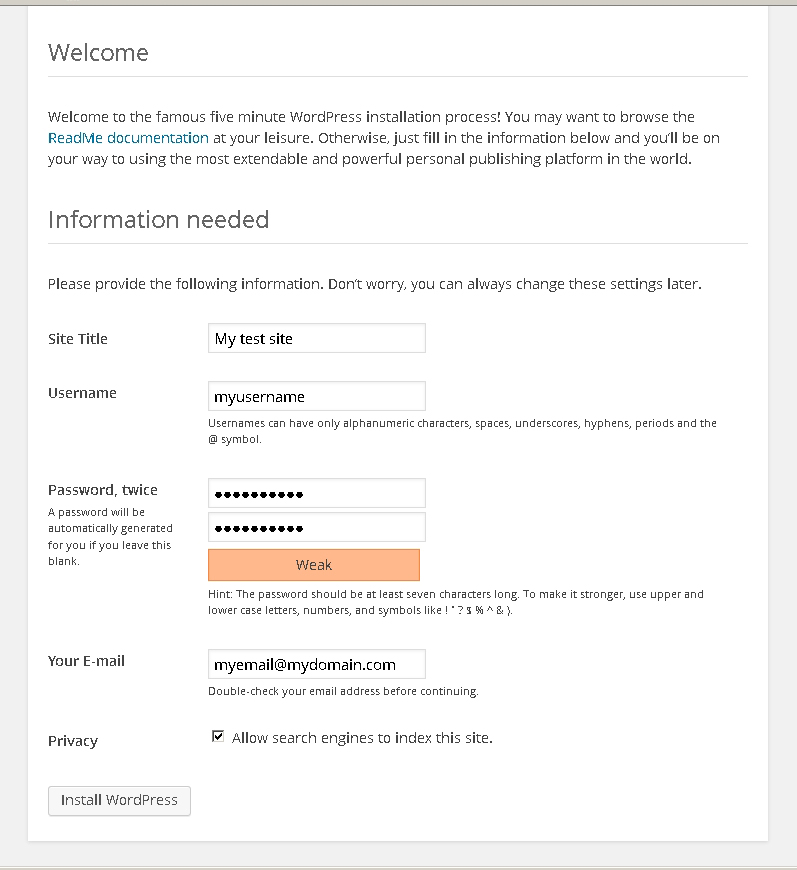
WordPress will now create all of the database tables for use with your new WordPress installation. Once that has been completed you will be greeted with a welcome screen. Fill out all of the fields. Click “Install WordPress”
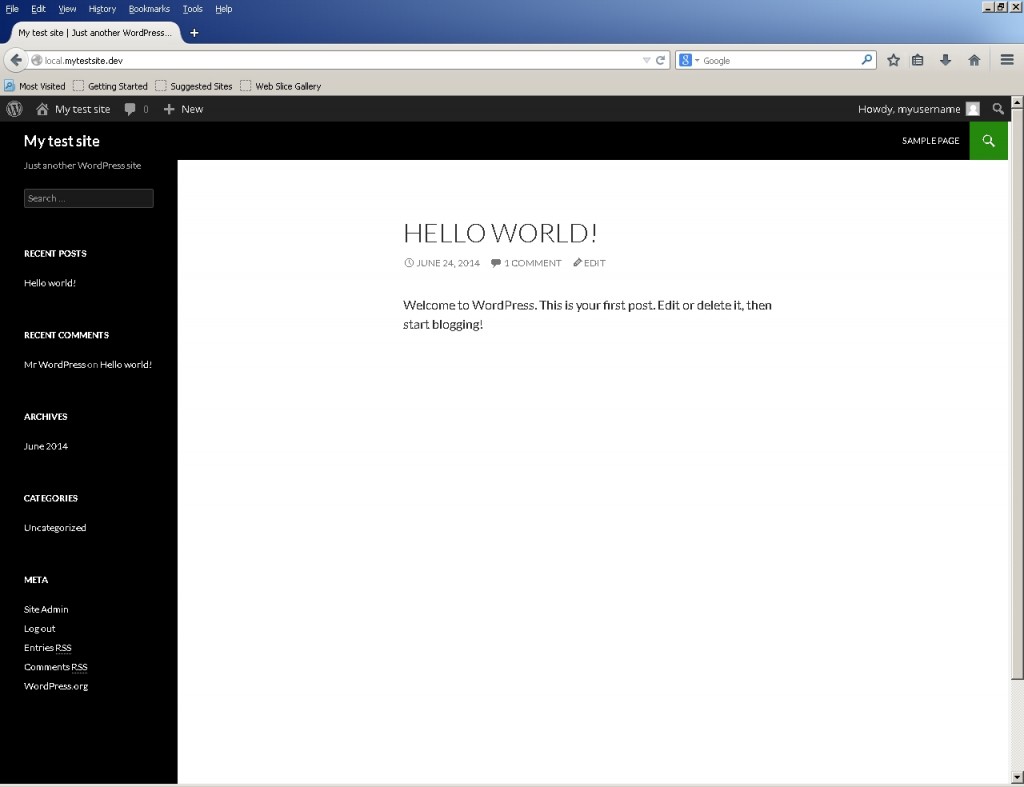
When the installation finishes you will be greeted with a “Success!” page. You can now click on “Log In” to log into the administration section of WordPress or you can visit local.mytestsite.dev to see your new website. Congratulations!