Set up a local development environment on windows


Whether you are an experienced web developer or you are just starting out, it is important to have your own PHP/MySQL development environment. This will allow you to experiment and try new things without having to continually upload your files to a web server. It will also allow you to experiment with plugins and modules without using your live site.
Download WAMP Server
You can download and install PHP, MySQL, Apache, and phpMyAdmin separately but that is beyond the scope of this tutorial. Installing WAMP Server will do it all for you – fast and simple.
This first step is downloading WampServer. It can be downloaded from the WAMP website.
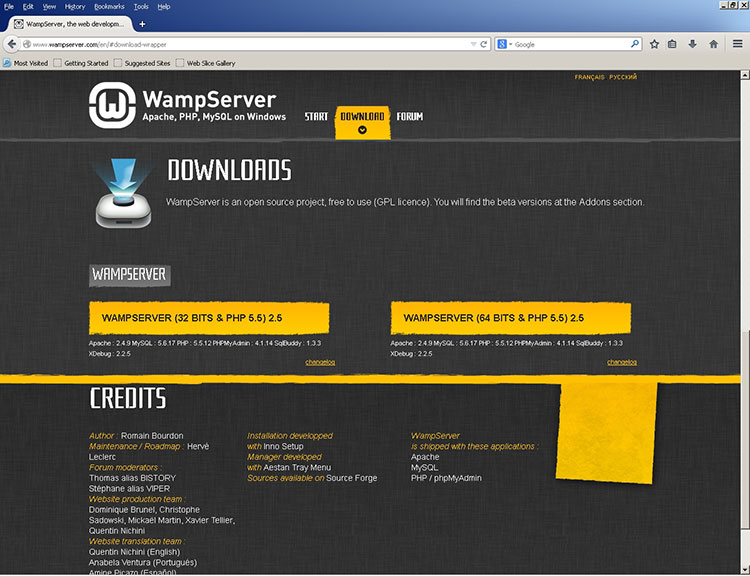
Wamp Server Home Page
I am using a 64bit OS so I will be downloading that version. Once you click on WAMSERVER (64 BITS & PHP 5.5) 2.5 you will see a popup.
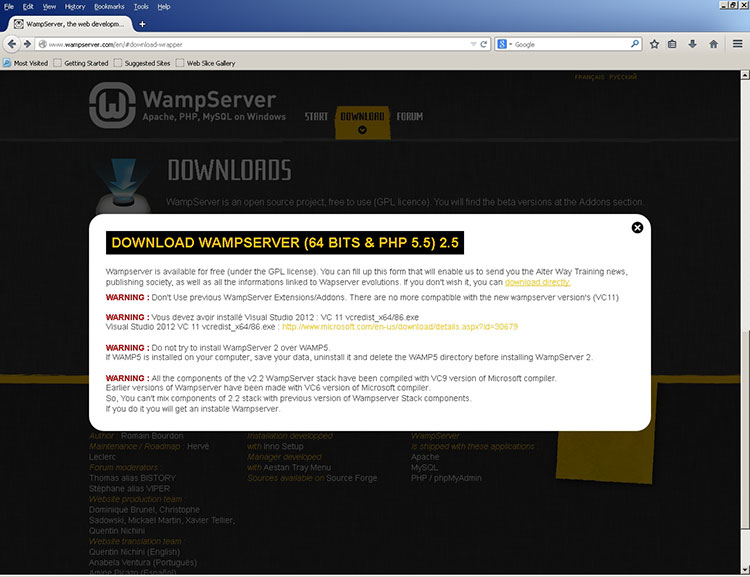
Warning to make sure Microsoft Visual C++ is installed
I have already signed up for all of the newsletters so I will click on Download Directly. However, it is very important that you install Visual C++ Redistributable for Visual Studio 2012 Update 4, if you do not have it installed. It is a requirement for WAMP to operate.
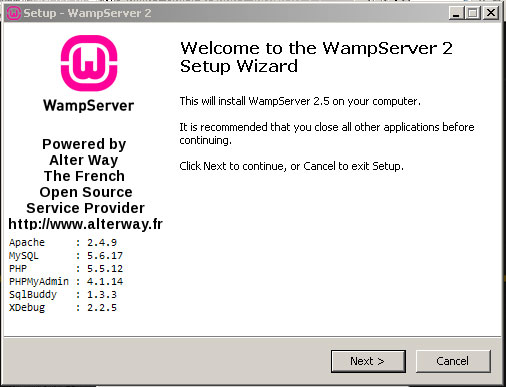
Once Microsoft Visual C++ is installed, double click the WAMP exe file that was downloaded and click run to begin the install. The setup wizard begins.
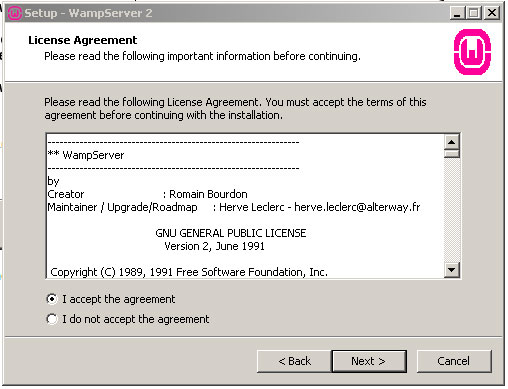
Read and accept the agreements.
Next is the installation directory. I change the installation directory because I do not like it installed in the very top level of my hard drive. I normally change this to the documents folder. That is a personal preference.
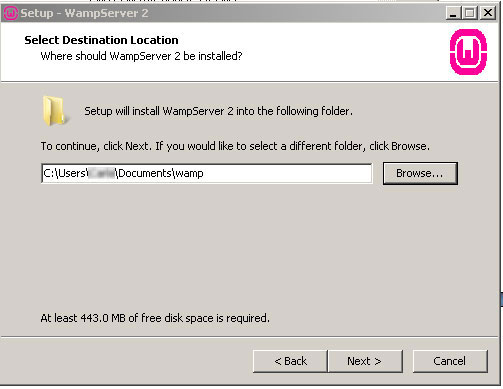
Wampserver install directory
WAMP also asks for your default web browser. By default it wants to choose explorer. I like to change it to Firefox or Chrome. The Firefox exe is located at C:\Program Files (x86)\Mozilla Firefox/firefox.exe. The Google Chrome.exe is located at C:\Program Files (x86)\Google\Chrome\Application .
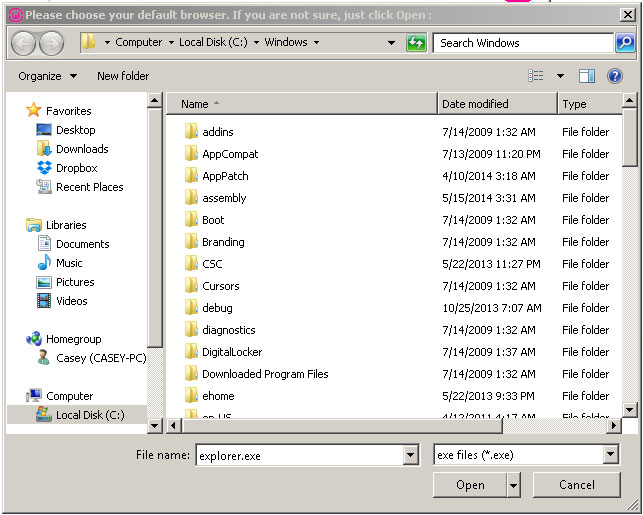
Default browser selection
WAMP will now ask for the SMTP settings for sending mail. PHP does not send mail from windows without a work-around so we will simply accept the defaults.
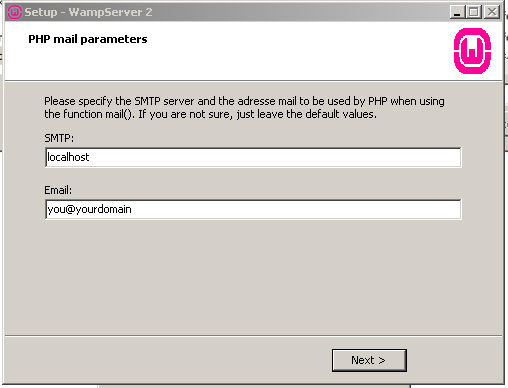
Skip the PHP mail parameters on Windows
You can now click finish with the option to have WAMP start for you. You can tell that it is running by looking at the icon in the system tray.
![]()
To restart WAMP server left click on the icon in the system tray and select Restart All Services. To make sure it is working, open a web browser and type localhost in the address bar. You should see the WAMP homepage:
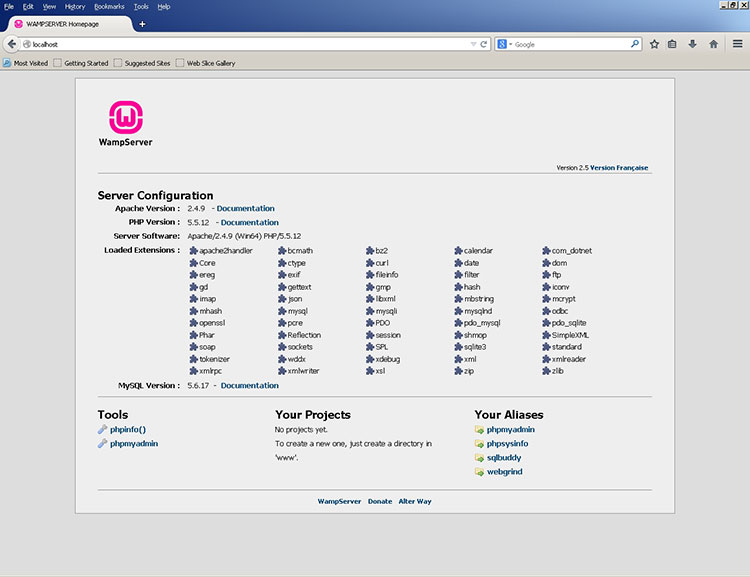
Wampserver homepage
Click phpinfo() under Tools to make sure PHP installed correctly and is working.
If you get the PHP info your PHP is working.
Go back to the localhost page and click on phpmyamdin to test if MySQL is working. You should get a screen similar to the one below
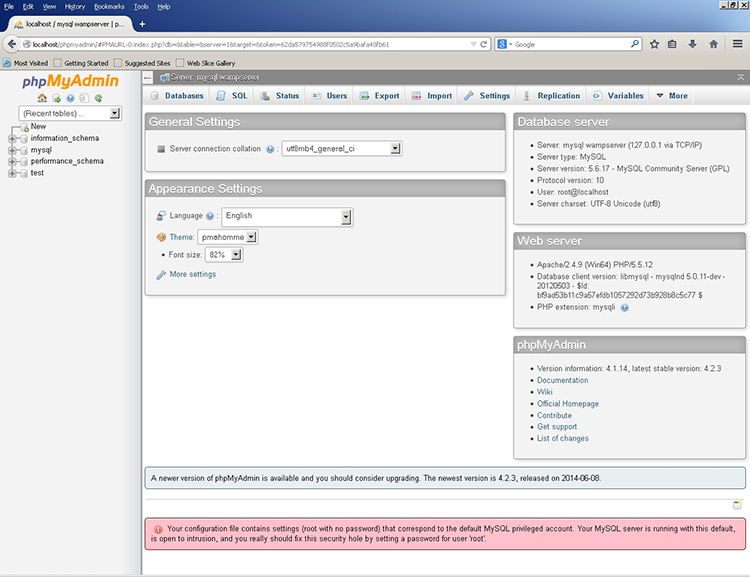
phpMyAdmin Screen
You can also get some really cool information about your system by clicking phpsysinfo.
Virtual Hosts
At this point you can save web scripts into the C:\Users\<User>\Documents\wamp\www folder to have the m served up by apache using the localhost URL. You can also create subfolders in this directory for other projects you may be working on. For instance, you can create a folder in the www folder called mysecondsite. You will be able to access it at http://localhost/ mysecondsite. To me this seems kind of sloppy so I use virtual hosts. This allows me to create website folders inside the www folder and access them using whatever URL I choose.
To get started, create a folder in www called local.mytestsite.dev. Inside this folder create a file and name it index.php. Open the file and type :
<?php phpinfo(); ?>
Save and close index.php.
Modifying the httpd.conf file
Now open the httpd.conf. This is located at C:\Users\<User>\Documents\wamp\bin\apache\apachex.x.x\conf. This is where I installed mine. If you used the default it will be at C:\wamp\bin\apache\apache2.4.9\conf. Be sure to substitute <User> with the correct username. Substitute apachex.x.x for the version you are installing. Scroll down to about line 513 where it says:
#Virtual hosts
#Include conf/extra/httpd-vhosts.conf
Uncomment the include statement so it now reads:
#Virtual hosts
Include conf/extra/httpd-vhosts.conf
Save and close the httpd.conf file.
Modifying the httpd-vhosts.conf file
Now open the httpd-vhosts.conf file. This is located at C:\Users\<User>\Documents\wamp\bin\apache\apache2.4.9\conf\extra. Again, if you installed WAMP someplace else you will have to modify the path. Once open you will see:
# Virtual Hosts
#
# Required modules: mod_log_config

# If you want to maintain multiple domains/hostnames on your
# machine you can setup VirtualHost containers for them. Most configurations
# use only name-based virtual hosts so the server doesn't need to worry about
# IP addresses. This is indicated by the asterisks in the directives below.
#
# Please see the documentation at
# <URL:http://httpd.apache.org/docs/2.4/vhosts/>
# for further details before you try to setup virtual hosts.
#
# You may use the command line option '-S' to verify your virtual host
# configuration.

#
# VirtualHost example:
# Almost any Apache directive may go into a VirtualHost container.
# The first VirtualHost section is used for all requests that do not
# match a ServerName or ServerAlias in any <VirtualHost> block.
#
<VirtualHost *:80>
ServerAdmin webmaster@dummy-host.example.com
DocumentRoot "c:/Apache24/docs/dummy-host.example.com"
ServerName dummy-host.example.com
ServerAlias www.dummy-host.example.com
ErrorLog "logs/dummy-host.example.com-error.log"
CustomLog "logs/dummy-host.example.com-access.log" common
</VirtualHost>

<VirtualHost *:80>
ServerAdmin webmaster@dummy-host2.example.com
DocumentRoot "c:/Apache24/docs/dummy-host2.example.com"
ServerName dummy-host2.example.com
ErrorLog "logs/dummy-host2.example.com-error.log"
CustomLog "logs/dummy-host2.example.com-access.log" common
</VirtualHost>
As you can see there are two dummy virtual hosts in place already. It is a good idea to remove these.
Now add the virtual host for the folder we created called local.mytestsite.dev in the www folder. But first, at the bottom of the httpd-vhosts.conf file type:
<VirtualHost *:80>
    DocumentRoot "C:\Users\<User>\Documents\wamp\www"
    ServerName localhost
</VirtualHost>
This will keep you from getting an error when visiting localhost when you need to access phpmyadmin. Now let’s create a virtual host local for local.mytestsite.dev. At the end of the httpd-vhosts.conf file type:
<VirtualHost *:80>
    ServerAdmin webmaster@dummy-host2.example.com
    DocumentRoot "C:\Users\<User>\Documents\wamp\www\local.mytestsite.dev"
    ServerName local.mytestsite.dev
    ErrorLog "logs/dummy-host2.example.com-error.log"
    CustomLog "logs/dummy-host2.example.com-access.log" common
</VirtualHost>
Restart WAMP Server. If you type local.mytestsite.dev into the address bar at this point you will get a “Server not found” error. We will need a way to map the DNS to that host. This is done using the windows host file. The windows host file is located at C:\Windows\System32\drivers\etc\hosts. Open the hosts file.
This is a pretty short file. If you scroll to the bottom you will see:
127.0.0.1 localhost
Simply add: 127.0.0.1 local.mytestsite.dev –So now the bottom of your hosts file should looks like this:
127.0.0.1 localhost
127.0.0.1 local.mytestsite.dev
Once saved, type local.mytestsite.dev into your address bar. You should now see the output of your index.php file you saved earlier.
That is all there is to it. To create more virtual hosts you just add the information to the bottom of httpd-vhosts.conf and add the name to the hosts file. That is all there is to it.
To make it more convenient, keep a shortcut on your desktop to these files.