FileZilla: File Management


Managing your files using FileZilla is probably the easiest way to manage you files on a remote FTP server. Every web hosting account comes with unlimited FTP accounts.
In order to complete this tutorial you will need to:
- Set up an FTP Account on your web hosting account. Instruction can be found here: “Installing FileZilla.“
- Install the FileZilla client to your local Computer. Instruction can be found here: “How to create an FTP Account.“
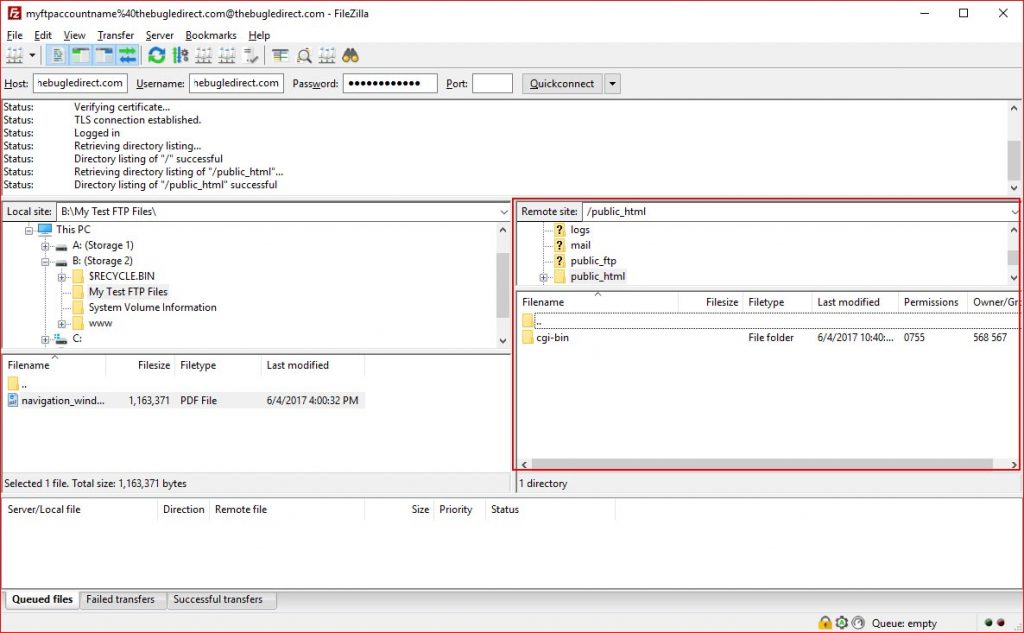
Navigation and Window Layout
It is import to understand the window layout.
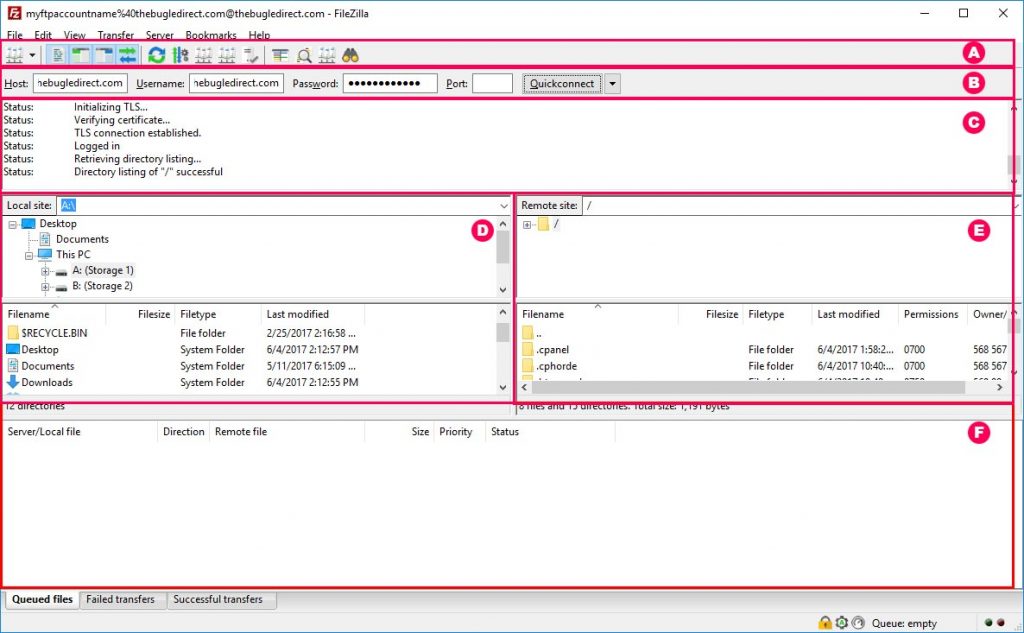
- Toolbar
- Quick connect bar
- Message Log – Displays transfer and connection related messages
- Local navigation pane – These are the files and folder on your local computer
- Remote navigation pane – Displays the files and directories on the server you are connected to.
- Transfer Queue – List transfer ready to be transfer or ones that have already been transferred.
Connecting to the FTP server
To connect to the FTP server you will need:
- Host – This can be the domain name for a hosting account. This example is thebugledirect.com.
- Username – This is an FTP account that was created on the server. See How to Create an FTP Account for more information.
- Password – This is the password used when creating an FTP account on the server.
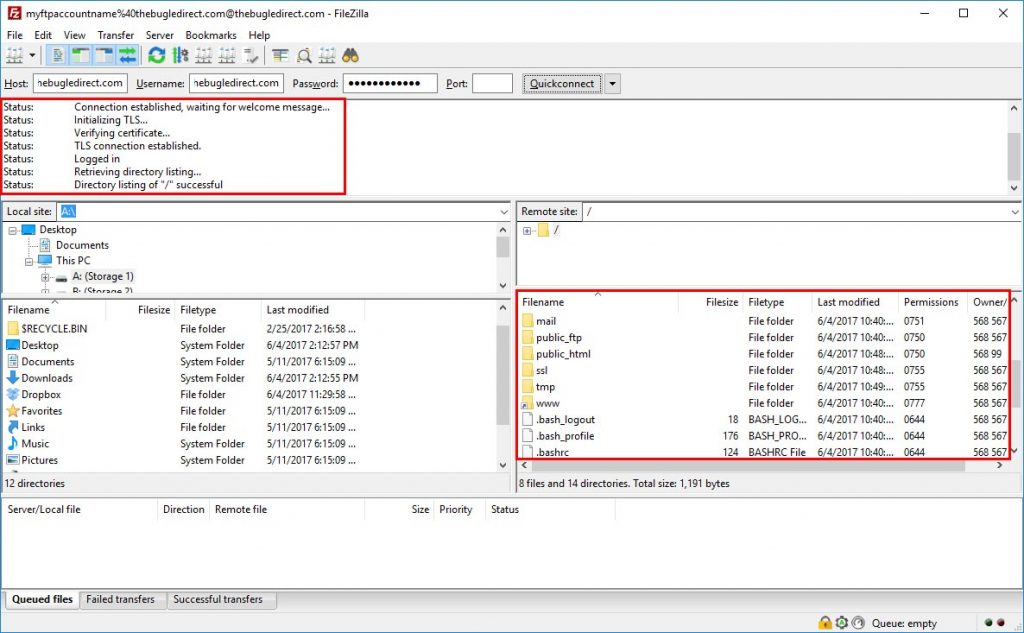
These details are entered in the Quick connect bar.
![]()
Click “Quick Connect.”
You will know when you are connected when you have a “Connection Established” message in the message log and a list of remote folders and files appear in the remote navigation pane.
Uploading Files to the Server
- Connect to the server – See heading “Connection to the FTP Server”
- From the Local navigation pane, browse to file you would like to upload. Use the top pain to select the folder where the file is located. This file is located at B:\My Test FTP Files
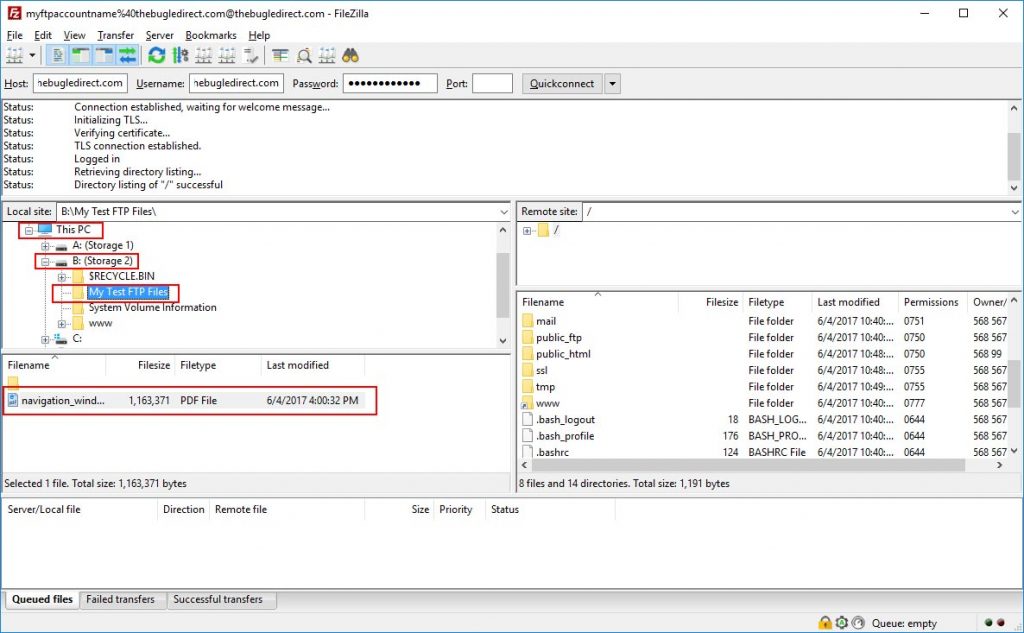
Select “This PC -> B: (Storage 2)-> My Test FTP Files” from the top section of the navigation pane. This will show the content of the “My Test FTP Files” contents in the bottom of the navigation pane. - From the right Remote navigation pane browse to the folder you want to upload the file to. The public_html file is the document root on the remote server and that is where we will upload this file. You enter this folder by double click it in the bottom section of the remote pain.
- Once you are in the directory where you want to upload the file, right click the file from the local pane and select upload.

The upload process will begin and the transfer log will show the progress of the uploading file.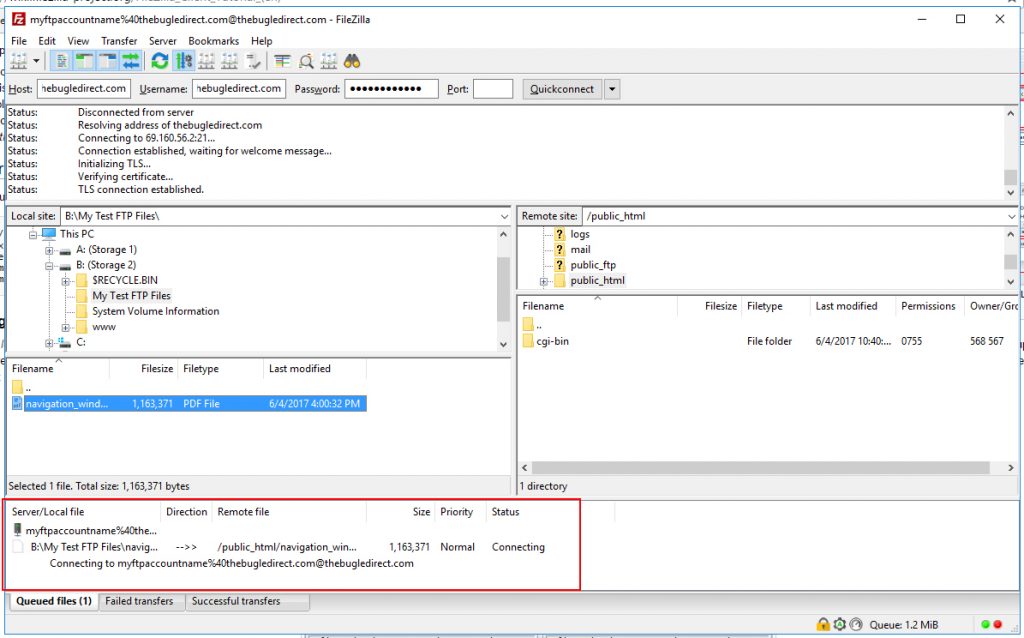
- Once the file is done uploading the file will now appear in the local navigation pane and on the remote navigation pane.
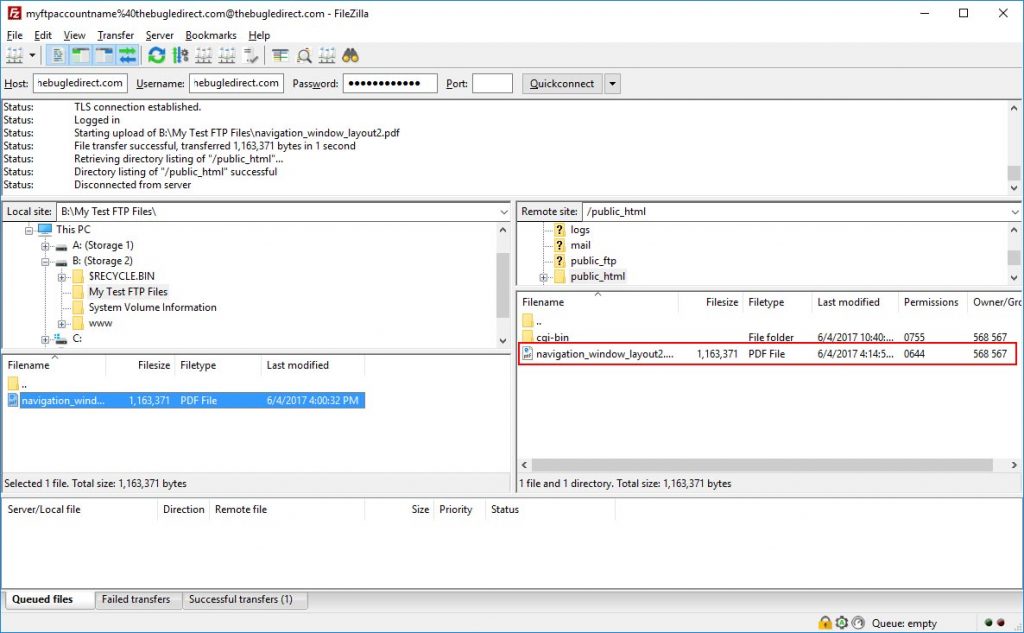
The file has now been copied from your local computer to the remote server.
This tutorial show the process for one file but you can also upload and download entire directories at a time.
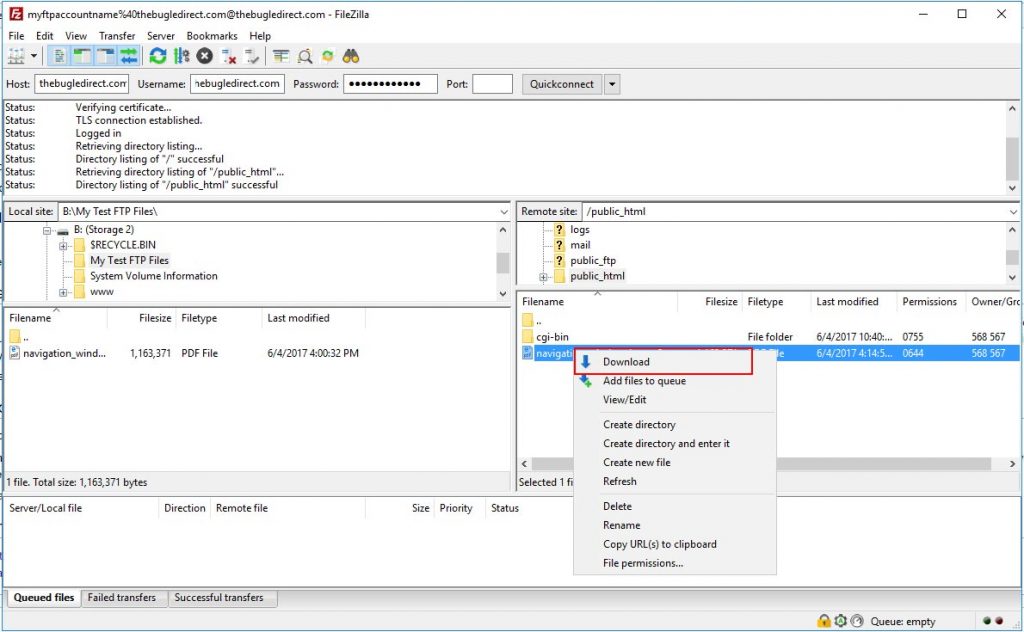
Downloading Files
Downloading files is the same except you right click files from the remote panel and select download from the drop down menu.