Installing FileZilla
This tutorial will demonstrate how to use FileZilla with your webhosting account. FileZilla is a fast and reliable cross-platform FTP client with lots of useful features and an intuitive graphical interface.
All Web Hosting Accounts at Great FX Media come with unlimited FTP accounts. FileZilla is the FTP client that is recommended with our hosting accounts.
You must first make sure you have an FTP account set up with your web hosting account. Instructions for that are located hear.
Installing FTP on windows is simple and typical.
- Be sure to log into windows with an administrator account.
- Download the FileZilla client for windows. You can download the FileZilla client here
- Once the download has finished double clink on the file. This starts the install process.
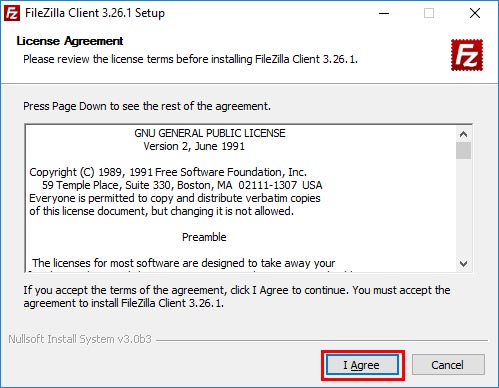
Click “I Agree” to continue. - You may be presented with Optional Offers. FileZilla is free software and the Optional Offers are not required. None of these are required to use FileZilla.
- If you have other users set up on your computer and you would like them to be able to use FileZilla select “Anyone who uses this computer (all users).” It’s important to note that other users will not be able to access FTP account you set up. They will have to set up their own.
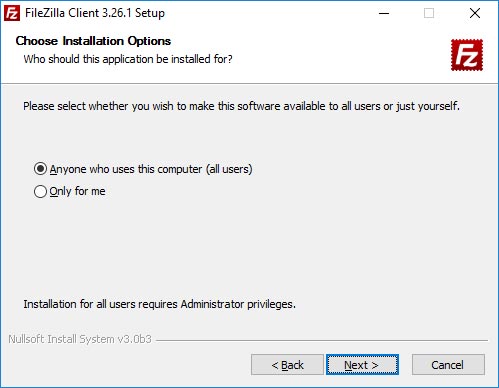
FileZilla install options
Otherwise, select “Only for me.” Click Next.
- Select the components you would like to install.
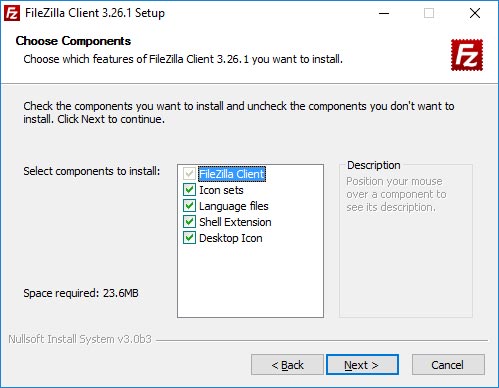
Click “Next” to continue. - Choose Install Location. This allows you to choose where on your PC you would like FileZilla to be installed. Typically the default destination folder is recommended.
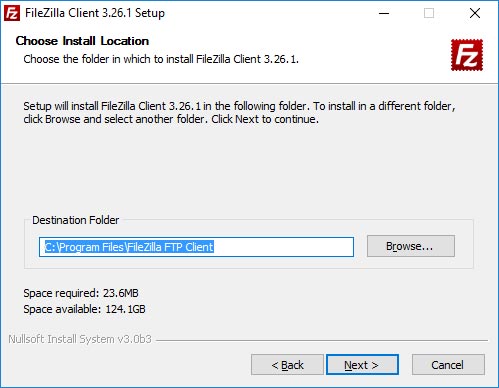
Select “Next”. - Choose Start Menu Folder. The default is fine.
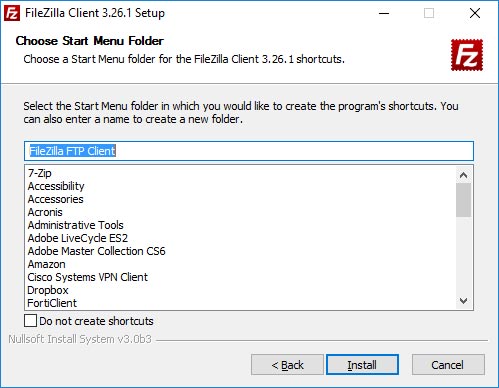
click “Install.” The installation begins. - Once the installation is completed you will be presented with the completion dialogue box.
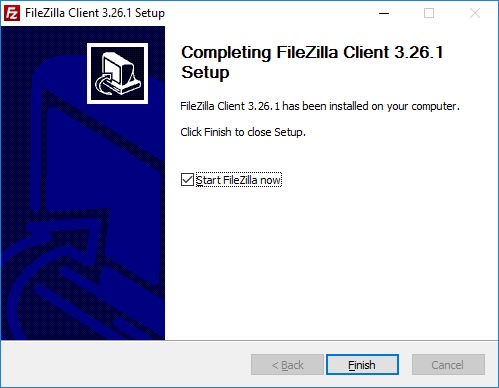
If you would like to start FileZilla now, you can leave the check box selected for the “Start FileZilla now” option.


